
Published 20.08.2026
Magento 2 CMS Directives Cheat Sheet for CMS Blocks and Pages
A practical Magento 2 CMS directives cheat sheet for CMS Blocks and CMS Pages, with examples of {{trans}}, {{store}}, {{media}}, {{block}}, {{widget}}, and {{customVar}}.
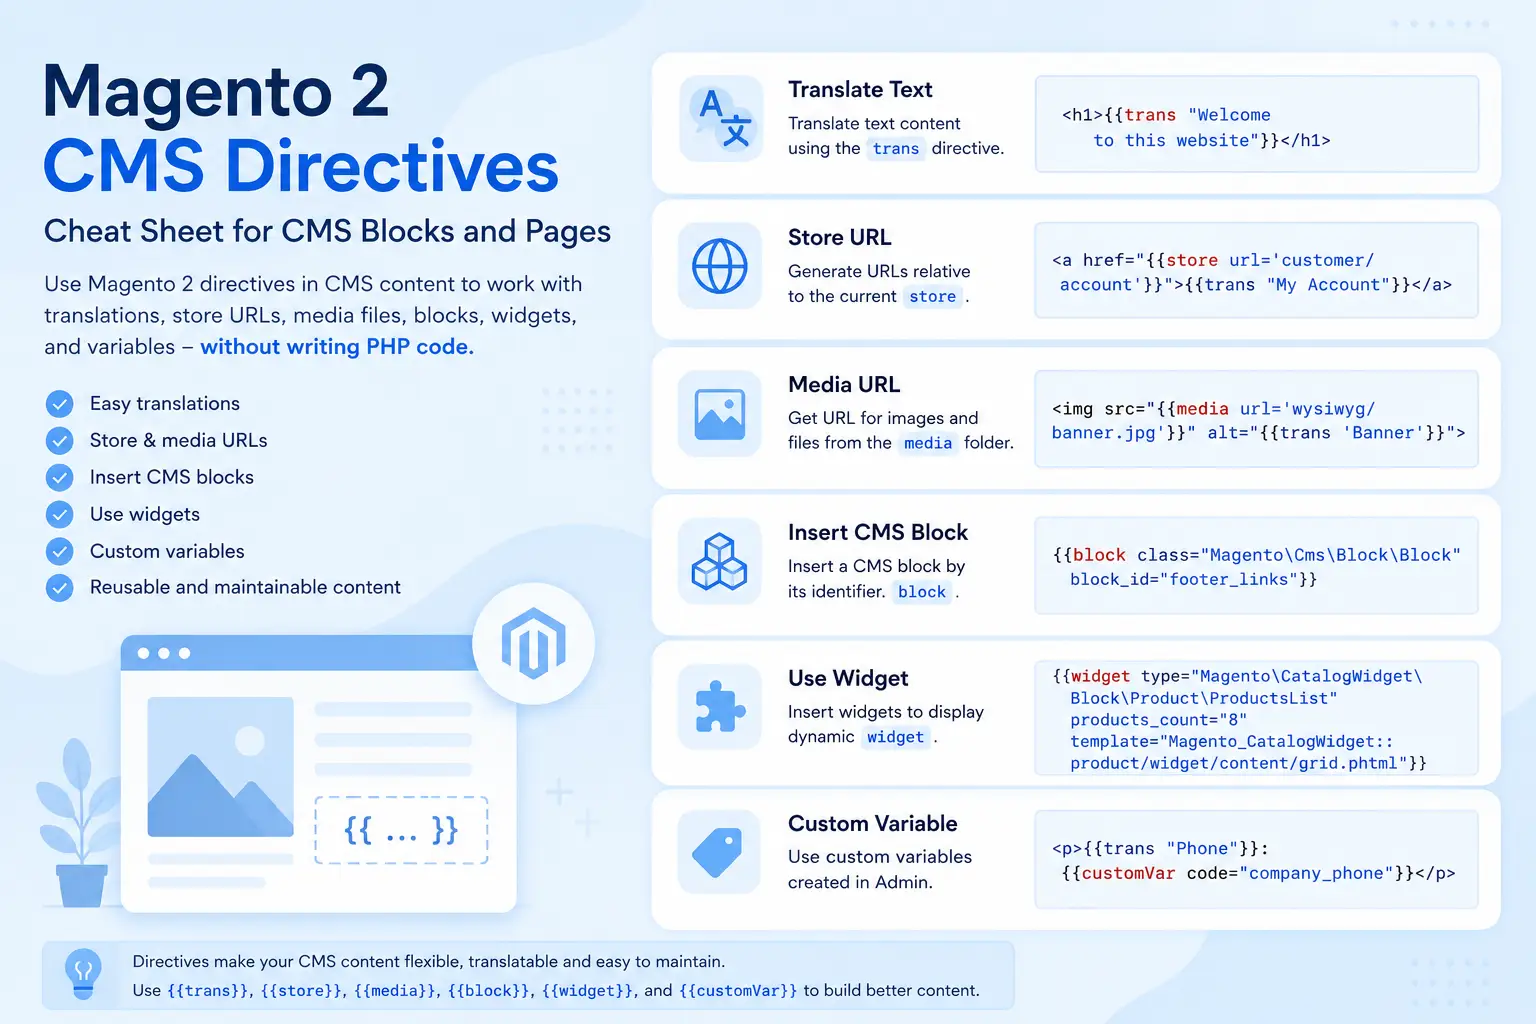
Magento 2 allows special directives in the {{ ... }} format inside CMS Blocks and CMS Pages. These directives can be used for translations, store URLs, media files, CMS blocks, widgets, and custom variables without writing PHP code.
This cheat sheet contains the most useful Magento 2 CMS directives commonly used when working with CMS content.
Translate Text
Use the trans directive for text that should support translations.
<h1 class="hero-h1">{{trans "Welcome to this website"}}</h1>Another example:
<p>{{trans "Free delivery for orders over $100"}}</p>You can also pass variables:
{{trans "Hello %name" name=$customer.name}}Store URL
The store directive generates a URL relative to the base URL of the current store view.
<a href="{{store url='customer/account'}}">
    {{trans "My Account"}}
</a>
For example, a link to a sale page:
<a href="{{store url='sale'}}">
    {{trans "Sale"}}
</a>
This is better than hardcoding a domain directly in CMS content.
Media URL
Use the media directive for images and other files stored in the Magento media directory.
<img
    src="{{media url='wysiwyg/banner.jpg'}}"
    alt="{{trans 'Banner'}}">
For example:
<img
    src="{{media url='wysiwyg/home/hero.webp'}}"
    alt="">
Magento automatically generates the correct URL to the media directory.
Insert a CMS Block
A CMS block can be inserted directly into a CMS Page or another CMS Block.
{{block class="Magento\Cms\Block\Block" block_id="footer_links"}}Here, footer_links is the identifier of the CMS block.
This is useful when the same content needs to be reused in multiple places.
Insert a CMS Block Using a Widget
A CMS block can also be inserted using a widget directive.
{{widget
    type="Magento\Cms\Block\Widget\Block"
    template="widget/static_block/default.phtml"
    block_id="12"}}
This syntax is often generated automatically when using Insert Widget in Magento Admin.
Use a Widget
The widget directive can be used to insert different Magento widgets.
For example, a product list:
{{widget
    type="Magento\CatalogWidget\Block\Product\ProductsList"
    products_count="8"
    template="Magento_CatalogWidget::product/widget/content/grid.phtml"}}
The available parameters depend on the specific widget.
Custom Variable
Magento allows you to create custom variables in Admin and use them inside CMS content.
{{customVar code="company_phone"}}For example:
<p>
    {{trans "Phone"}}:
    {{customVar code="company_phone"}}
</p>
This is useful for values that appear in multiple places and should be manageable from Magento Admin.
Directives Inside HTML Attributes
Magento CMS directives can be used directly inside HTML attributes.
<a href="{{store url='contact'}}">
    {{trans "Contact Us"}}
</a>
Or:
<a href="{{store url='checkout/cart'}}">
    {{trans "View Cart"}}
</a>
Media Image with a Store URL
In real projects, several directives are often combined in the same block.
<a href="{{store url='sale'}}">
    <img
        src="{{media url='wysiwyg/banners/sale.webp'}}"
        alt="{{trans 'Sale'}}">
</a>
This example uses:
{{store}}to generate the URL;{{media}}to generate the image path;{{trans}}to translate the text.
Practical CMS Block Example
<section class="hero">
    <div class="hero-content">

        <h1>
            {{trans "New Collection"}}
        </h1>

        <p>
            {{trans "Discover our latest products"}}
        </p>

        <a href="{{store url='new-products'}}">
            {{trans "Shop Now"}}
        </a>

    </div>

    <img
        src="{{media url='wysiwyg/home/new-collection.webp'}}"
        alt="{{trans 'New Collection'}}">
</section>
This CMS block does not contain a hardcoded domain, supports translations, and uses Magento media URLs correctly.
Most Useful Magento CMS Directives
Translation:
{{trans "Text"}}Store URL:
{{store url='customer/account'}}Media URL:
{{media url='wysiwyg/image.webp'}}CMS Block:
{{block class="Magento\Cms\Block\Block" block_id="identifier"}}Custom Variable:
{{customVar code="variable_code"}}Widget:
{{widget ...}}Conclusion
Magento 2 CMS directives make CMS content more flexible and reduce the need for hardcoded values inside CMS Blocks and CMS Pages.
For most everyday tasks, knowing {{trans}}, {{store}}, {{media}}, {{block}}, {{widget}}, and {{customVar}} is enough.
These directives allow you to work with translations, URLs, media files, and reusable content without modifying PHP code.